Installing in iOS (Xcode 4)
To use GHUnit in your project, you’ll need to create and configure a test target.
Create Test Target
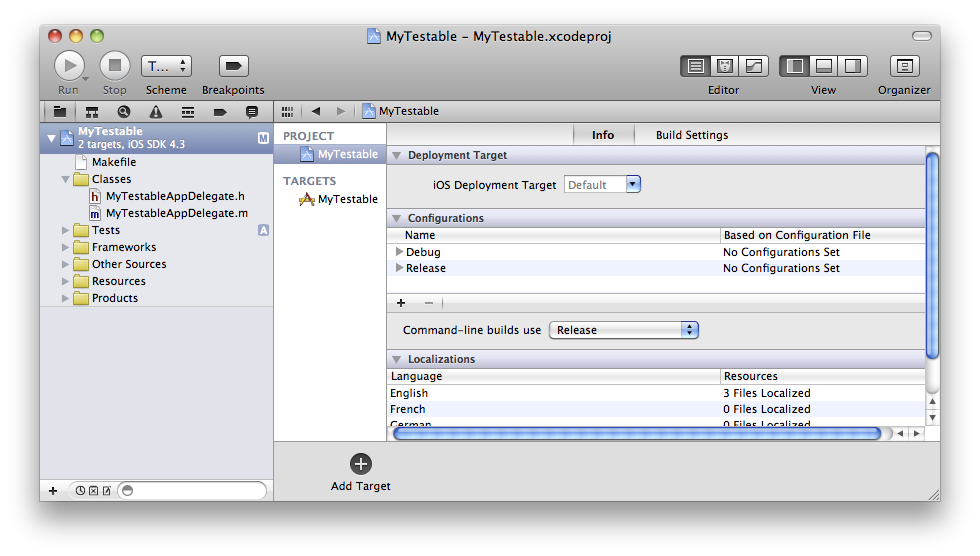
- You’ll want to create a separate Test target. Select the project file for your app in the Project Navigator. From there, select the Add Target + symbol at the bottom of the window.
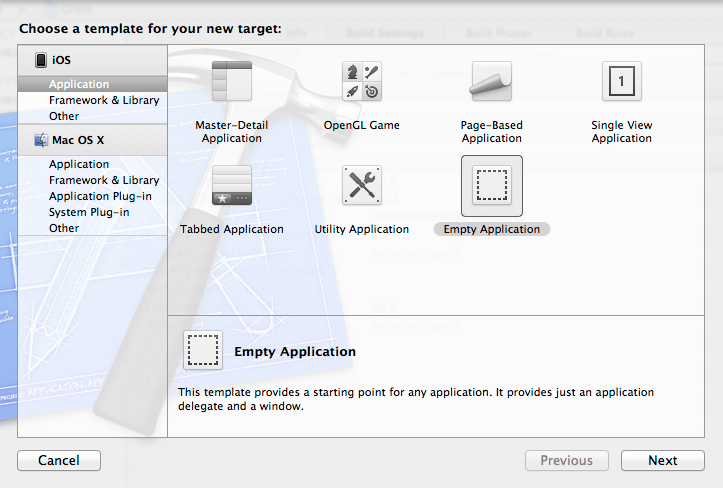
- Select iOS, Application, Window-based Application. Select Next.
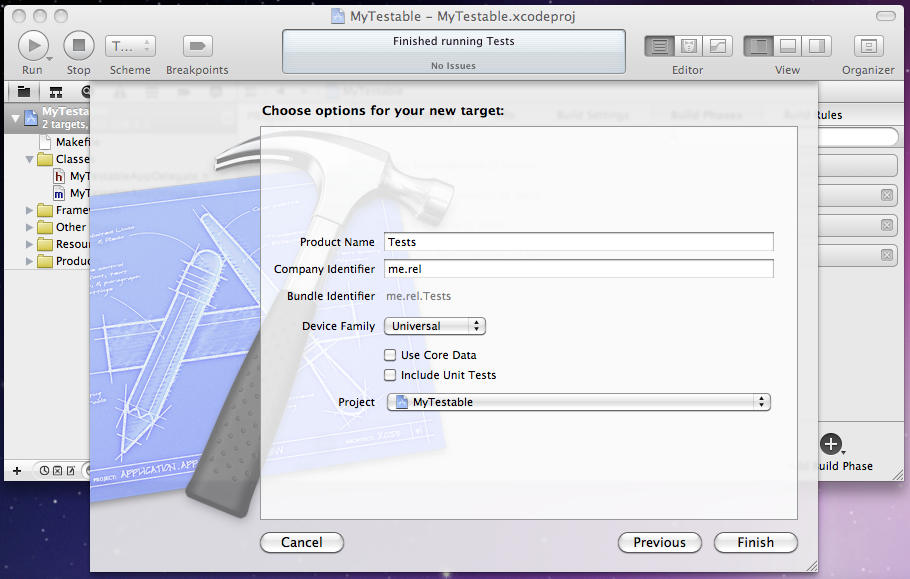
- Name it Tests or something similar. Select Finish.
Configure the Test Target
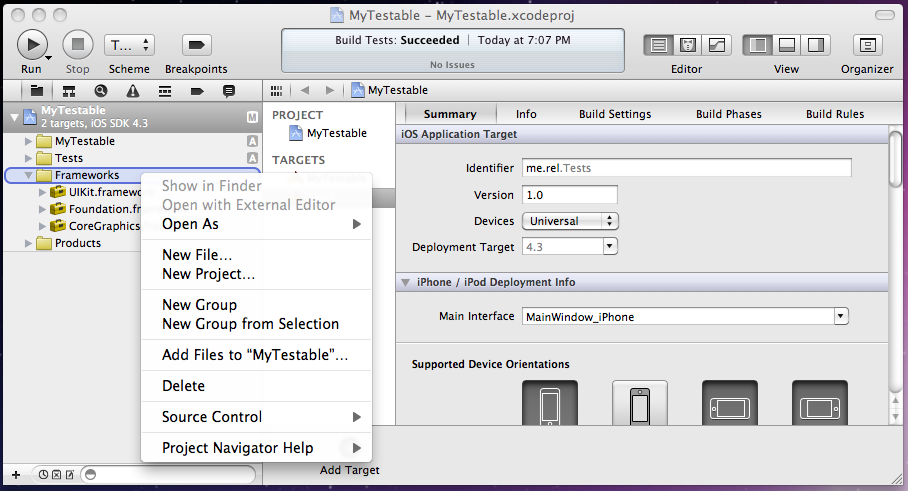
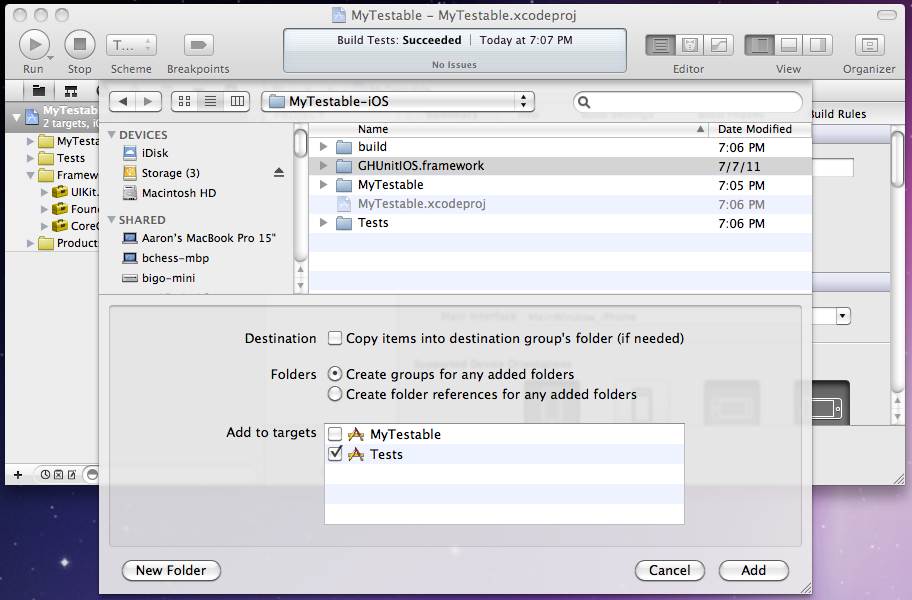
- Download and copy the GHUnitIOS.framework to your project. Command click on Frameworks in the Project Navigator and select: Add Files to “MyTestable”. (This should automatically add GHUnitIOS.framework to your Link Binary With Libraries Build Phase for the Tests target.)
- Select GHUnitIOS.framework and make sure the only the Tests target is selected.
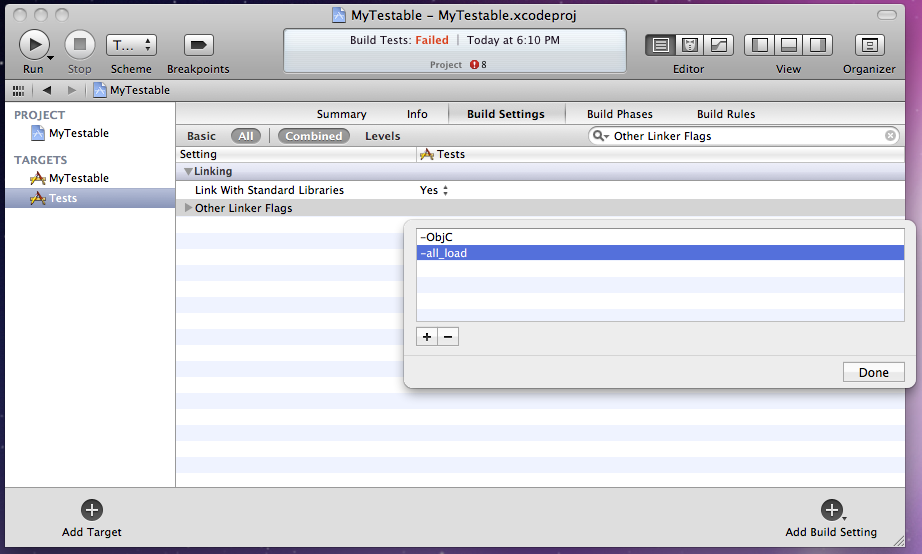
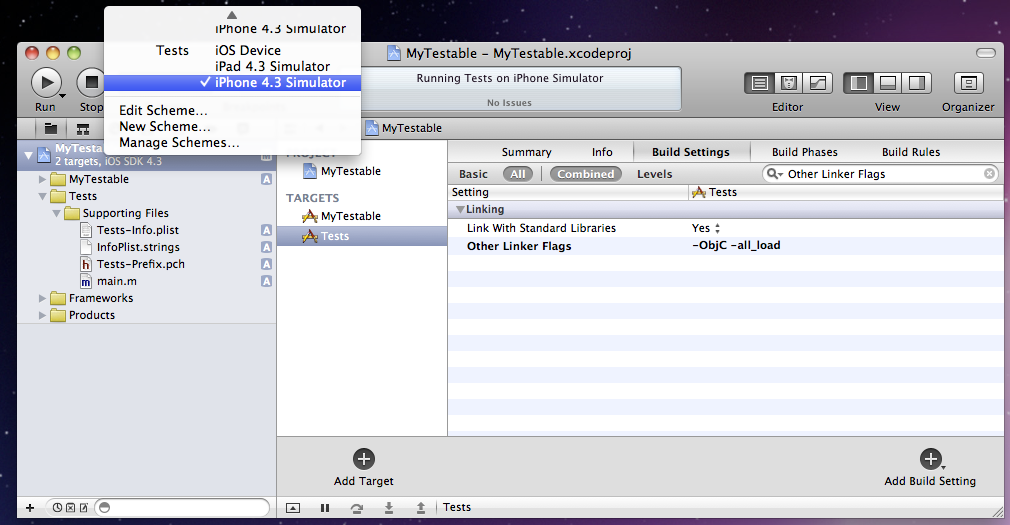
- We want to enable use of Objective-C categories, which isn’t enabled for static libraries by default. In the Tests target, Build Settings, under Other Linker Flags, add -ObjC and -all_load.
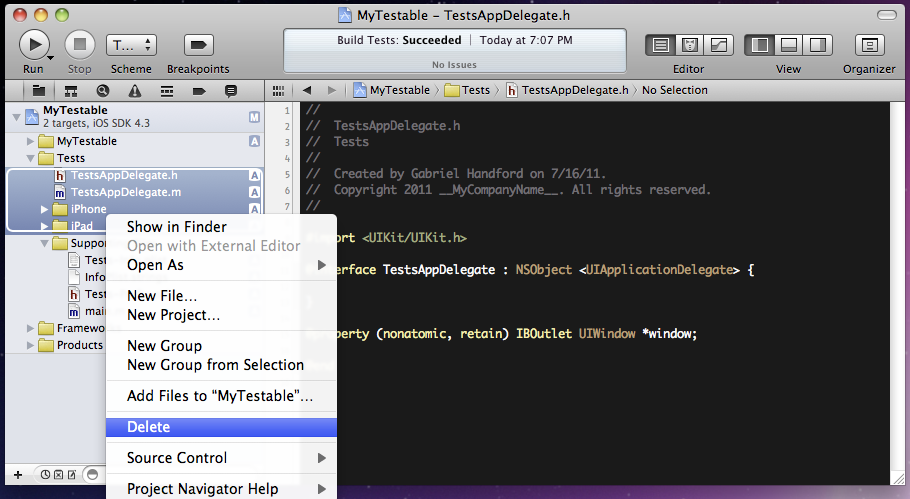
- Select and delete the files from the existing Tests folder. Leave the Supporting Files folder. GHUnit will provide the application delegate below.
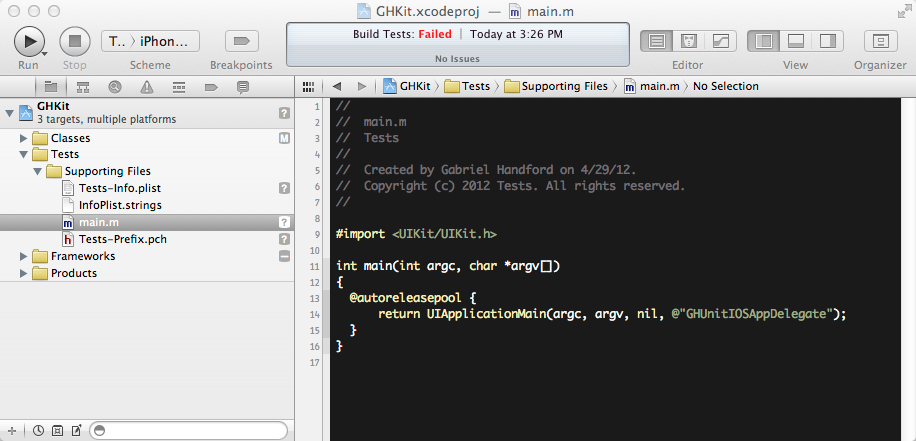
- In Tests folder, in Supporting Files, main.m, replace the last argument of UIApplicationMain with
@"GHUnitIOSAppDelegate". Remove the #import “AppDelegate.h” if present.
- Select the Tests target, iPhone Simulator configuration:
- Hit Run, and you’ll hopefully see the test application running (but without any tests).
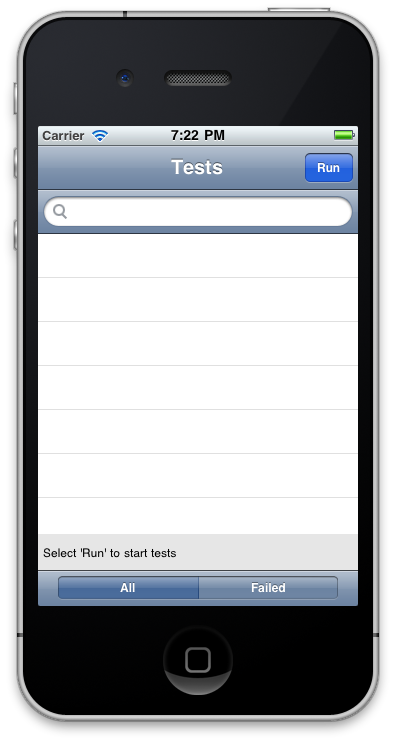
Now you can create and run tests!